Grow Microgreens at Home — Simple Indoor Gardening Guide
Growing fresh, nutritious greens at home has never been easier. With the rising trend of indoor microgreens gardening, more and more people — from wellness enthusiasts to urban residents — are discovering how convenient and rewarding it is to grow these tiny, flavor-rich greens themselves. Packed with vitamins, minerals, and powerful antioxidants, microgreens are one of the easiest ways to enhance a healthy diet.
This detailed home gardening guide will walk you through everything — from choosing the right seeds to harvesting your first batch of greens. Plus, we’ll share helpful microgreen-growing tips to ensure your indoor garden flourishes year-round, giving you a continuous supply of fresh, nutrient-dense greens right from your kitchen.
Why Grow Microgreens at Home?
Microgreens are young vegetable greens harvested shortly after their first true leaves appear. Unlike sprouts, they are grown in soil or a growing medium — which enhances their flavor and nutrition. Studies suggest that microgreens may contain up to 40x more nutrients than their fully matured vegetables, making them a powerful superfood.
Benefits of Growing Microgreens at Home:
-
Ultimate Freshness — Harvest and enjoy instantly.
-
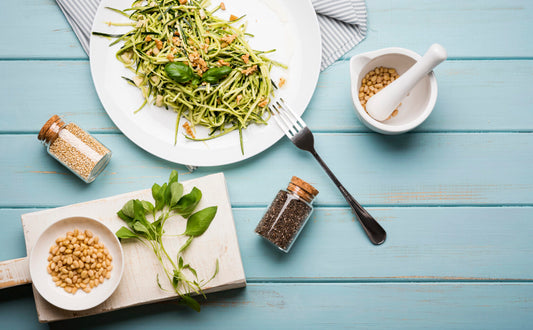
Bold Flavor — Perfect for salads, sandwiches, smoothies & garnishes.
-
Time & Cost Efficient — No more expensive store-bought greens.
-
Health Boost — High in vitamins A, C, K, antioxidants & digestive enzymes.
Growing microgreens gives you complete control — pesticide-free, garden-fresh greens anytime you want.
What You Need to Start
Getting started is simple and requires very little space or equipment. Here’s what you need for home-grown microgreens:
-
Premium Microgreen Seeds — Try broccoli, sunflower, radish, pea shoots & beet.
-
Shallow Growing Trays — Preferably with drainage holes.
-
Growing Medium — Soil, coco coir, or hydroponic mats.
-
Light Source — Sunlight or LED grow lights for indoor setups.
-
Spray Bottle — For gentle watering without disturbing roots.
For an easier, beginner-friendly experience, Agrizen Microgreens Kits include all essentials to help you start growing immediately.
Step-by-Step: How to Grow Microgreens at Home
Follow these easy steps to harvest your own fresh greens within just a couple of weeks:
Step 1: Prepare Your Tray
Fill a shallow tray with 1–2 inches of your growing medium. Level the surface to support uniform growth.
Step 2: Sow the Seeds
Spread the seeds evenly across the surface and press lightly. Do not bury them — surface contact supports quicker germination.
Step 3: Mist to Moisturize
Use a spray bottle to keep the soil lightly moist. Avoid overwatering to prevent mold formation.
Step 4: Cover for Germination
Cover the tray with a lid or breathable cloth to maintain humidity. Most seeds sprout within 2–5 days.
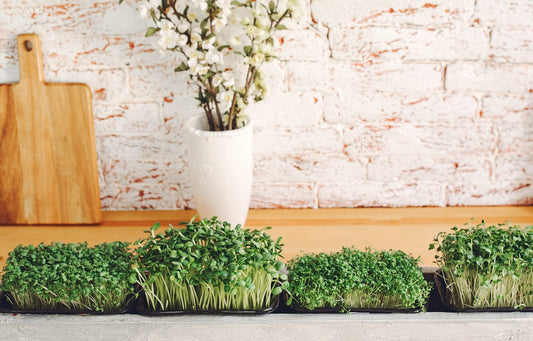
Step 5: Provide Adequate Light
Once sprouts appear, remove the cover and place the tray under sunlight or LED lights for 12–16 hours daily. Rotate if needed for even growth.
Step 6: Harvest & Enjoy
Microgreens are ready in 7–14 days. Cut them just above the soil line — and enjoy farm-fresh nutrition in every meal!
Tags:
Previous
Grow Fresh Microgreens at Home with Agrizen Microgreens Kits
Next
Kale Microgreens Benefits — Agrizen Microgreens Superfood for Better Health